My best friend’s favorite movie of all time is Wizard of Oz.
Which is why it’s pretty unbelievable that it took us 19 years to do a Wizard of Oz Halloween costume theme.
But, it finally came to fruition.
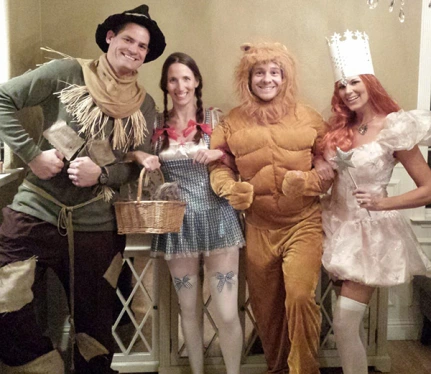
She was Dorothy, her husband the Scarecrow, my husband was the Lion and I was Glinda the Good Witch.
We were even finalists in a Halloween Costume Contest!
(If you’ve poked around my blog, you may recognize my husband’s bulked up lion costume from the year before when we dressed up in a circus theme with our dog.)
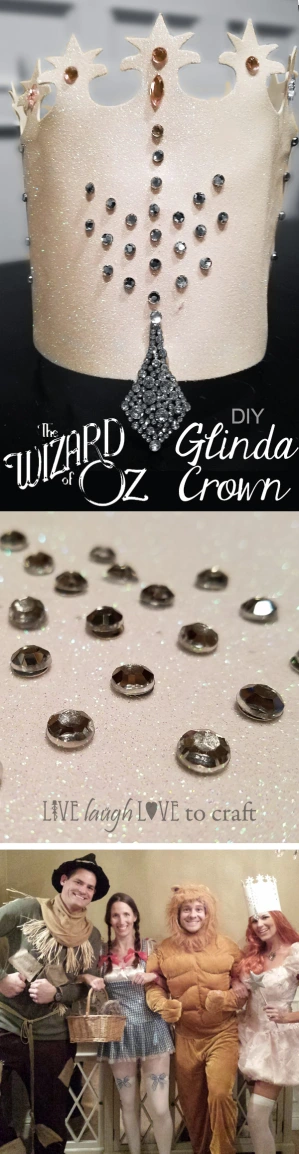
How amazing is this crown?
And guess what, I made it myself!
It’s funny because my husband tends to refuse to wear store-bought costumes because they don’t look authentic. This leads to day-of frantic searches in which Tad enlists my help – even though I’ve pestered him for weeks that Halloween is approaching. *Sigh*
(Not this year though!)
I love store-bought costumes, and I got this Glinda costume from HalloweenCostumes.com. Oh my goodness it was super huge on me (better than too tight!).
I ended up taking it in, but the crown itself was so flimsy and warped I couldn’t use it. Total garbage.
So, I decided to create my own and made it fabulous.
I headed off to Hobby Lobby and found the perfect materials to make my own Glinda the Good Witch crown.
Whether you need a good witch costume for a Halloween party or costume contest or for a character in a Wizard of Oz play…
Here’s How to Make Your DIY Adjustable Glinda the Good Witch Crown:
Materials (the findings/embellishments can vary – this is just the unique way I put mine together – be creative with yours!):
- 2 Sheets of Glitter Foam Paper – like this
- Rhinstone/crystal embellishments with flat backs
- Front jewel
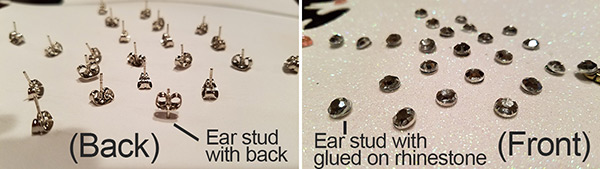
- Blank Ear Studs – like these
- Hot Glue
- Velcro
I got all my supplies at Hobby Lobby, but they don’t sponsor me in any way and I’m sure you can find similar items at any craft store.
Steps:
Create Your Crown Shape & Cut Out Crown:
Draw out your crown shape to trace on the back of the glitter foam paper if you don’t have a Cricut.
Here is the file I created to cut out the crown shape on my Circut:
Unfortunately, it didn’t cut the foam paper as well as I’d like, so I had to go back over the semi cut-out crown and finish cutting it with scissors. (I’ve since upgraded to a new Cricut).
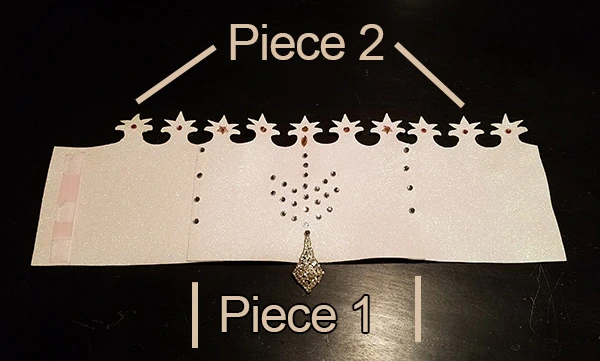
Since 1 piece of foam (11″) wouldn’t reach all the way around my head, I had to use 2 pieces of foam. So I divided the graphic between the front and back sides.
Attach The Front & Back Pieces:
I wanted the crown to be flexible, so I could tighten it to fit my head exactly.
So, Piece 1 used for the front section, and Piece 2 I cut in half to attach to each side of the front, then velcro together in the back:
I used hot glue to adhere them together, then used 4 of the plain earring studs to reinforce each of the seems.
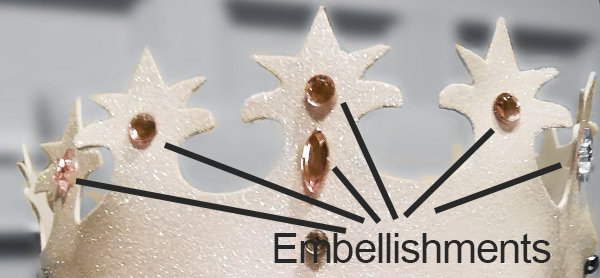
Embellish Your Crown:
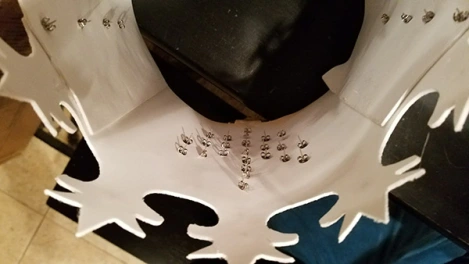
I wasn’t sure the rhinestones would stick well when glued to the glitter foam paper, so I did the same thing to embellish the front as I did to reinforce the seems in the last step.
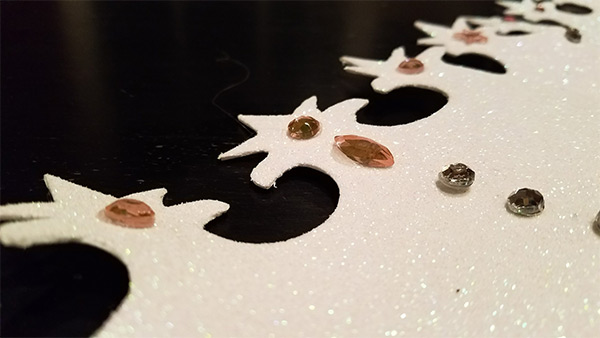
I pushed the plain earring studs through the foam in the shape of the design I wanted for the front. This method worked great because it was easy to reposition any suds that I didn’t initially place well.
Note: I placed all the earring studs high enough that they wouldn’t poke into my forehead or anywhere else!
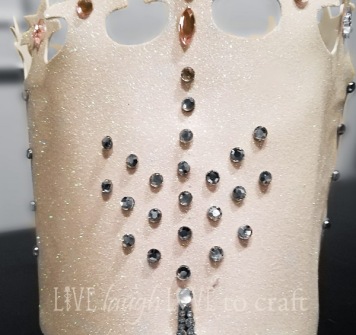
Then, I hot glued the rhinestones to the flat fronts of the plain earring studs.
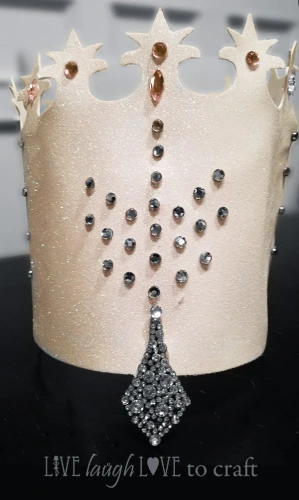
Here was the outcome of the front rhinestones:
Add Additional Embellishments:
I glued additional embellishments to each of the top spokes of the crown:
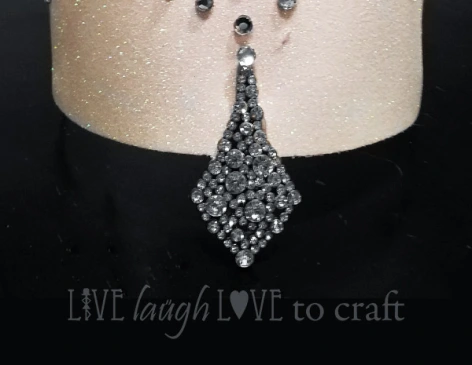
As well as the signature piece to the front that hangs down on the forehead:
Attach Velcro to Make Crown Adjustable:
To make the crown adjustable in size I chose to add velcro to the back.

Here were are all decked out on Halloween: